WARNING AND DISCLAIMER: Working with high voltages can cause serious injury or death. You may read the following project description for entertainment only, which is the intended purpose. 10 Audio makes no warranty express or implied for any result and assumes no liability for any damage to person or property that may result from anyone using any information included in the following project.
IF IN DOUBT, DON’T!
———————————-
Here is my recipe for an excellent power cable. With most components, the sound is very detailed but not bright or forward or harsh. The bass is deep and powerful, with very good resolution. The midrange is also excellent and the soundstage is very wide and deep. On some components, the upper treble can sound just a bit soft, but as with any power cable, finding the one cable that works well in your system is the key. A “better” power cable is not a guarantee of synergy.
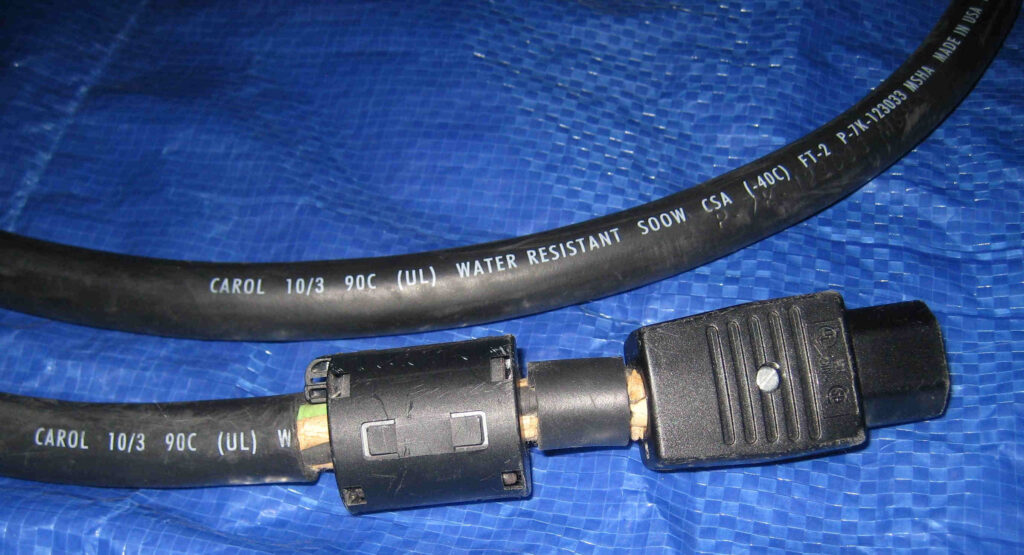
The image below was taken before heat shrink was installed that covered the ferrite clamp and about half of the IEC connector. As you can see, some of the insulation on the Carol wire was removed. It required care and patience to make sure I did not cut into the black, white, or green insulation that covers the individual wires. Only the black outer insulation was removed.

Parts list:
- Carol 10/3 wire
- Pass & Seymour 5266XCC15 plug
- Shurter 4782 IEC plug
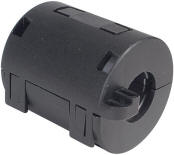
- 1/2″ ferrite core pn 110-454 from Parts Express. The cable is very dark sounding with an obvious layer of haze without this part positioned near the IEC plug. Changing the Pass & Seymour plug or the Shurter IEC connector to other parts will have less effect than omitting the ferrite clamp.

Please note: For liability reasons, I am unable to offer assistance to those of you who may have questions about building your own DIY power cords. Sorry.
